The Sound Gong Bath Yurt
The Sound gong bath yurt is a project that I am undertaking, this will be my own design and built from scratch. I will share pictures, videos and details of its progress stage by stage.
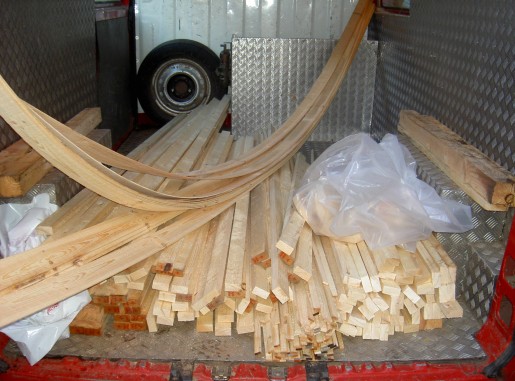
I have just collected the timber. The timber was sustainably sourced from Pennymoor Timber near Tiverton: http://pennymoor-timber.co.uk Pennymoor Timber are FSC® and PEFC certified and can supply certified timber guaranteed to be from responsibly managed sources. By using FSC and PEFC certified wood I am supporting better management of the World’s forests.

The part I want to make first is the center roof wheel, so I need to build a jig first.
The pictures below show the stages of building the jig.
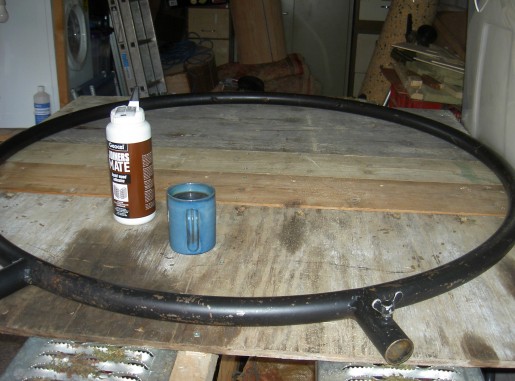
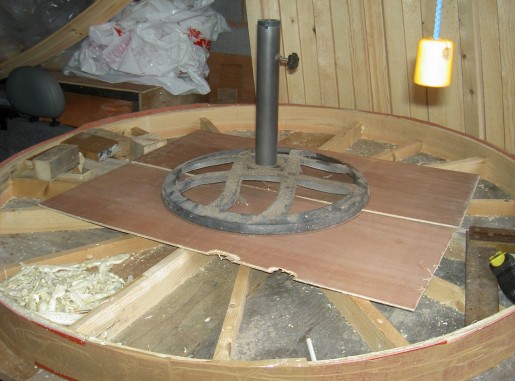
I started this by building a platform using old ply and other wood that I had lieing around and then I placed my gong stand on top.
The gong stand is the perfect thing to use to get a nice even circle.
Next I placed the first piece of thinly cut wood inside the gong stand.
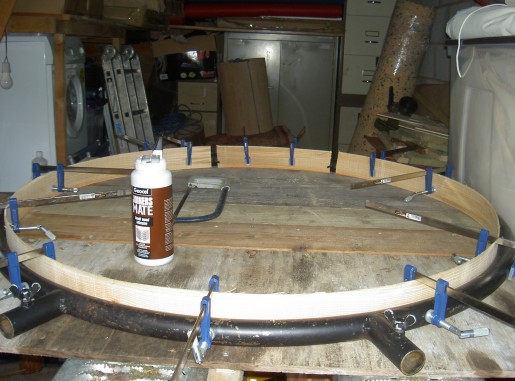
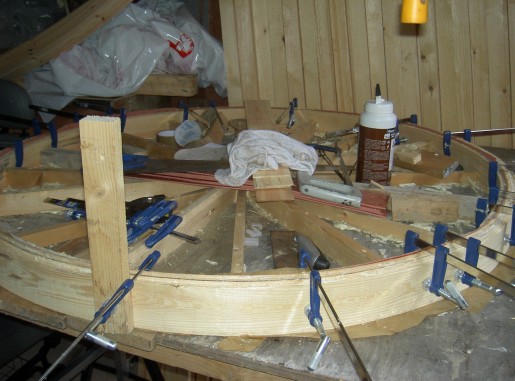
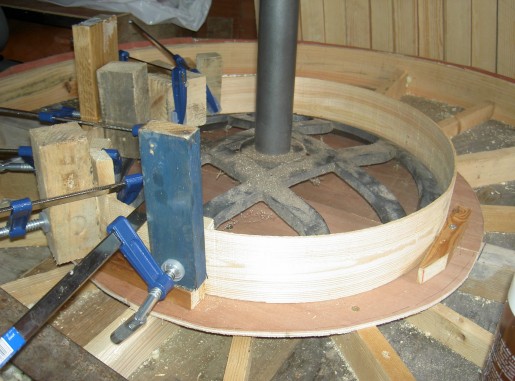
Now I start adding braces inside to add strength to keep the circle.
And more!
The braces are screwed down to the ply and the circle is screwed to the ends of the braces so to hold the circle together so I can remove the gong stand.
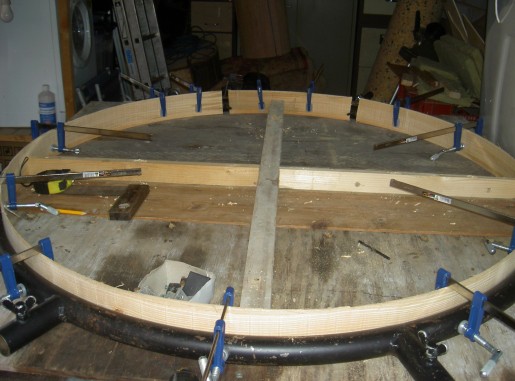
Ok the gong stand is now removed, as I had to work around the hooks that hangs the gong I have two gaps at the far end that will need to be corrected on the next step.
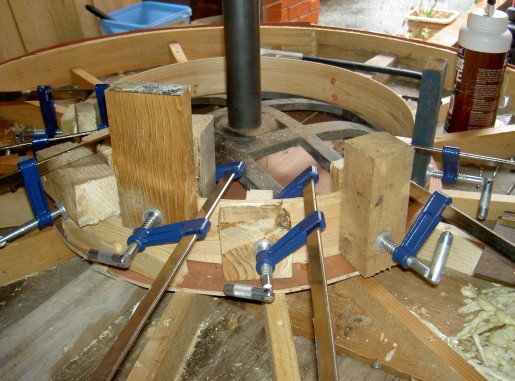
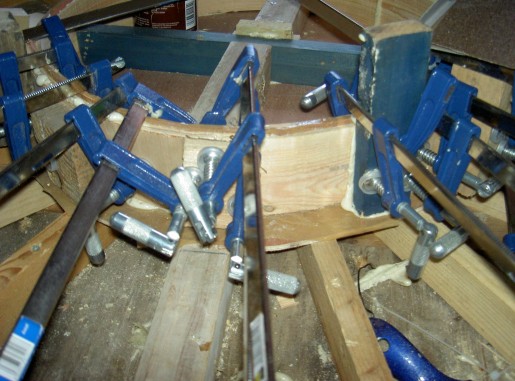
I now glue and clamp the next thin piece of wood to the circle and making sure that the ends are in a different place to the gaps I had in the previous photo.
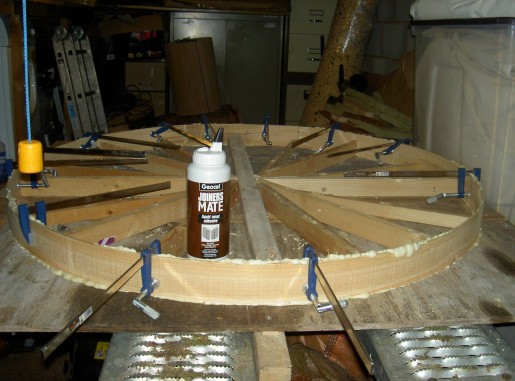
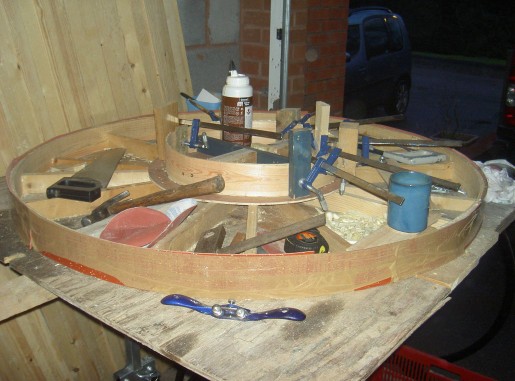
Ihave now started to glue lots of pieces together to make up the wheel.
First I added pieces of rubber matting so I have something to pull out to hopfully make things easy to remove the wheel from the frame when it is completed.
I also added parcel tape to the frame so to avoid the glue sticking the wheel to the frame.
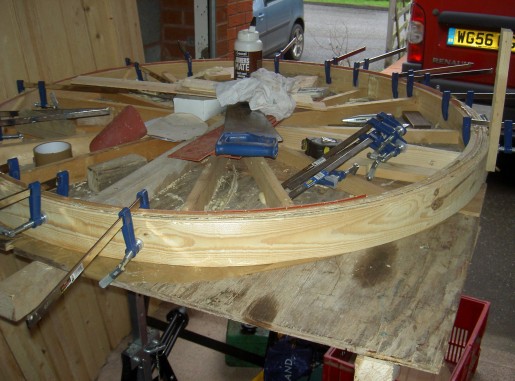
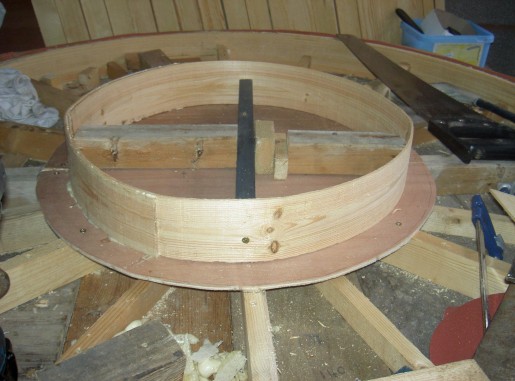
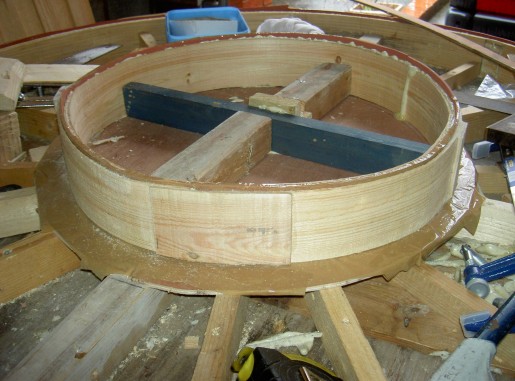
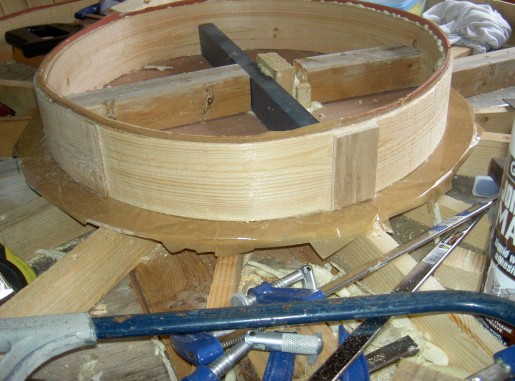
This is a half way point.

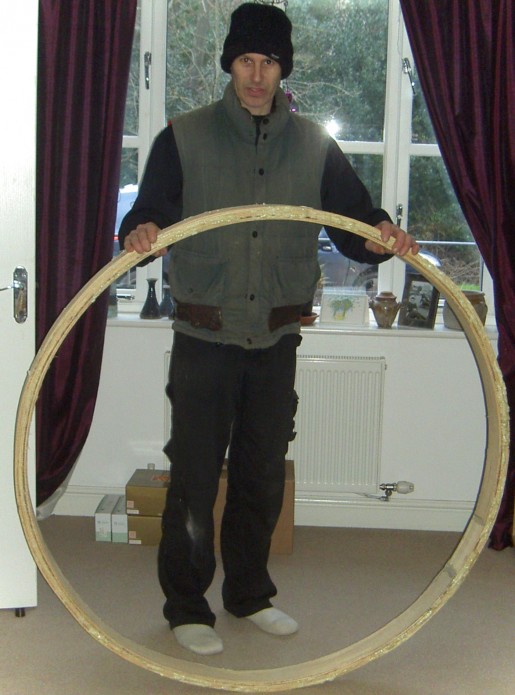
And here it is. I now just need to plane and sand the edges to tidy it up.
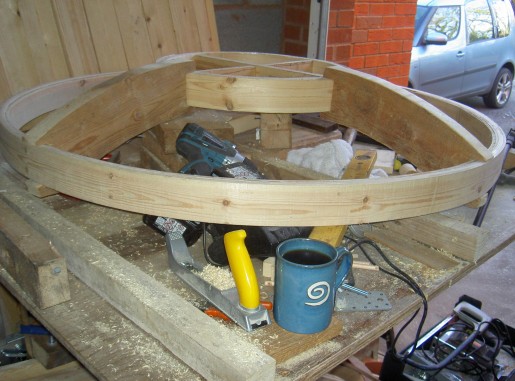
I am now starting the inner wheel, so as before I need to make a jig to do this. This one will be a lot smaller.
I needed something a lot smaller than a gong stand this time and when I looked around the garage I found this patio parasol stand which was perfect.


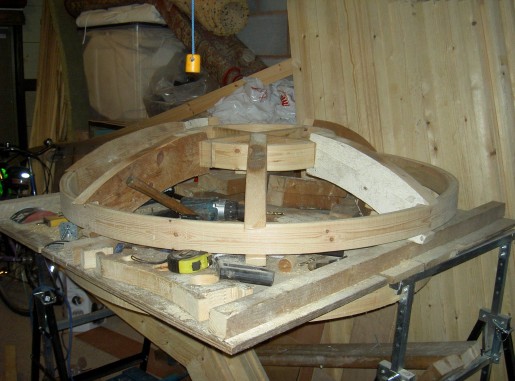
I am now ready to start building the inner wheel. I will line this with rubber matting and parcel tape again like I did with the large wheel as this worked out really well, infact I did not incounter any problems with removing the wheel from the jig.
As with the larger wheel I will build up with a layer a day until I have the same thickness as the larger wheel.
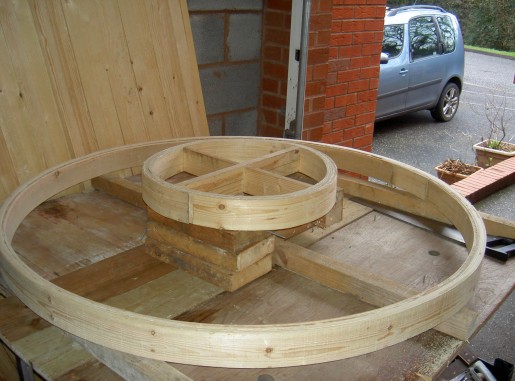
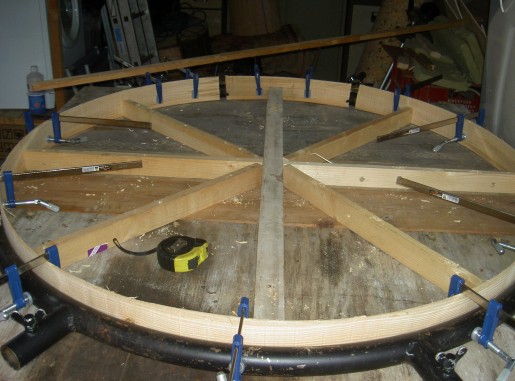
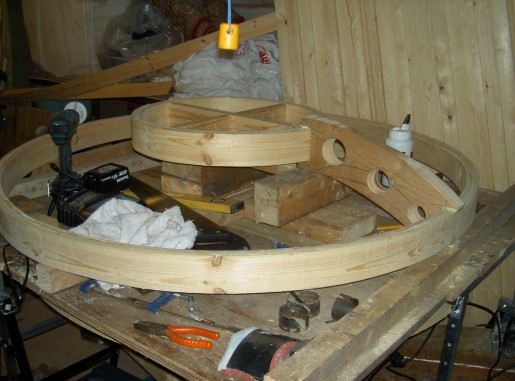
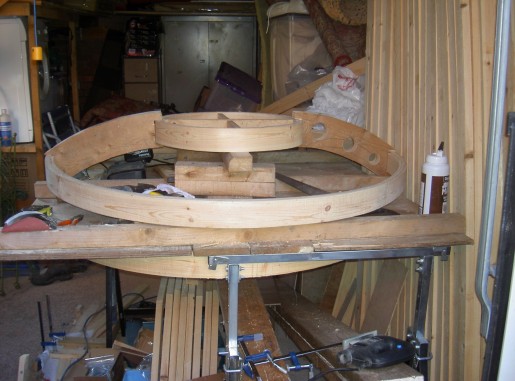
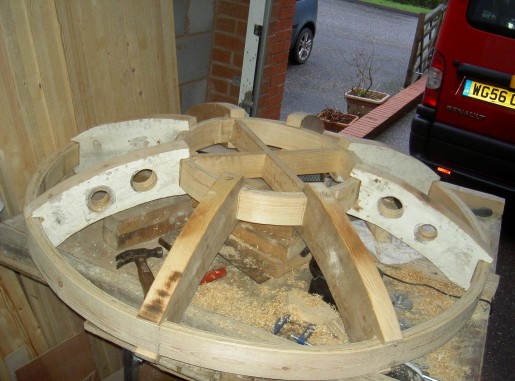
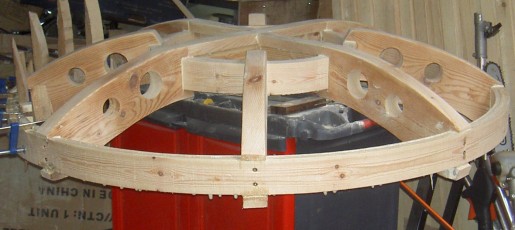
Ok I now have an inner and outer wheel and I am ready to join the two pieces together with eight spokes.
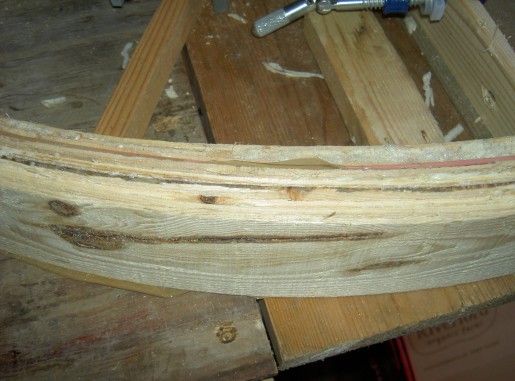
Here I start making a spoke and I will be perfecting this one and use it as a template to build the eight that I will need.
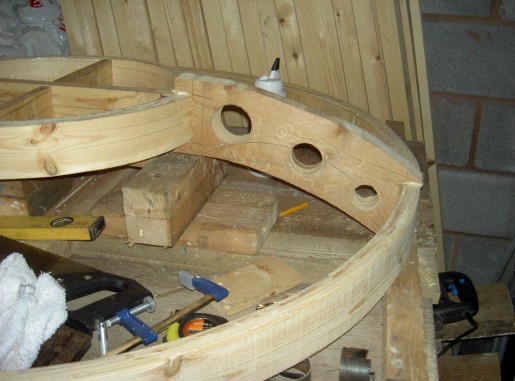
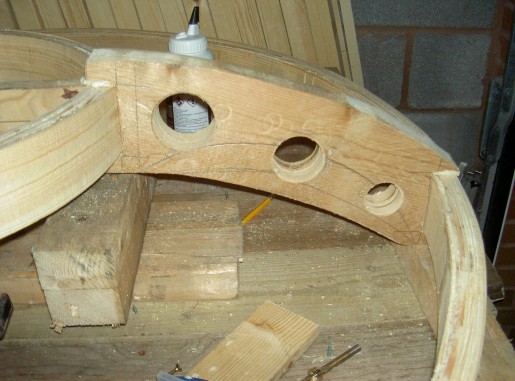
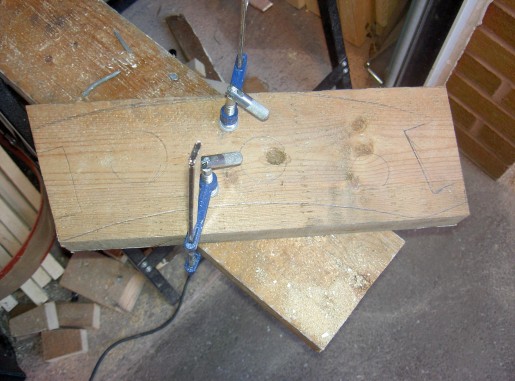

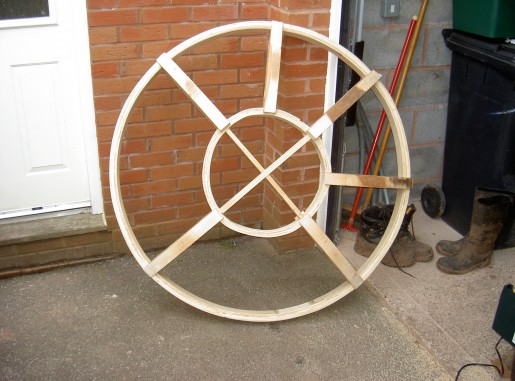
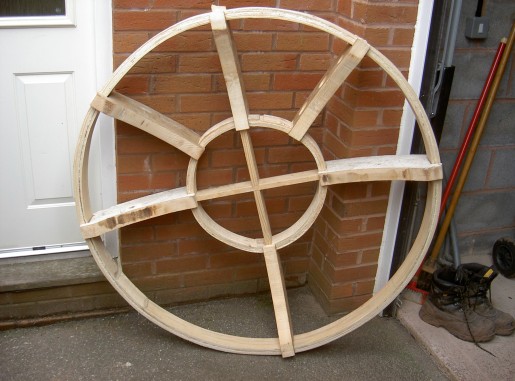
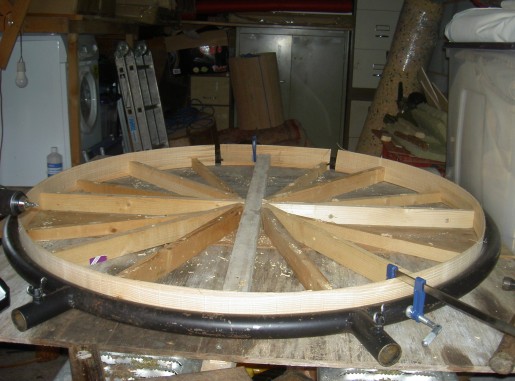
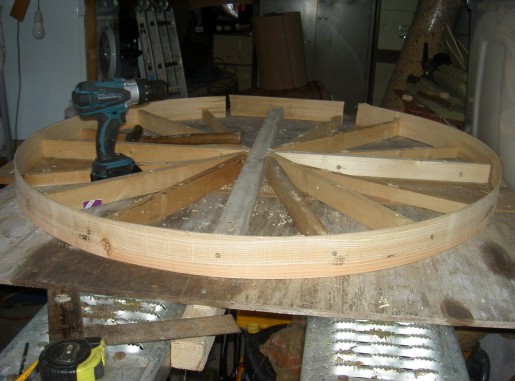
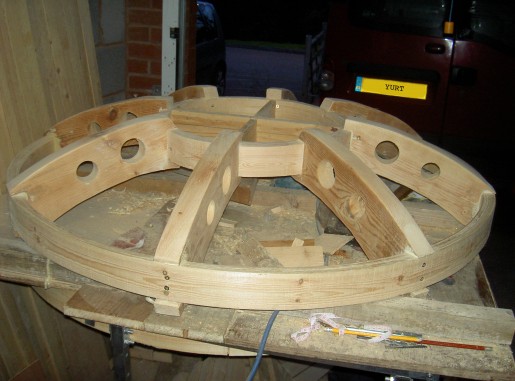
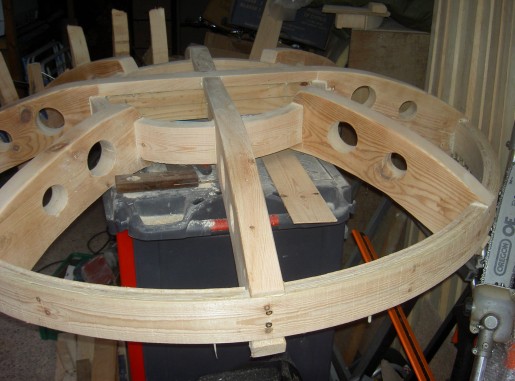
That is all eight made now. I am now ready to drill the holes in each one for decoration and then glue these all in place. Next job would be to sand down the whole thing in preparation for painting or varnishing.
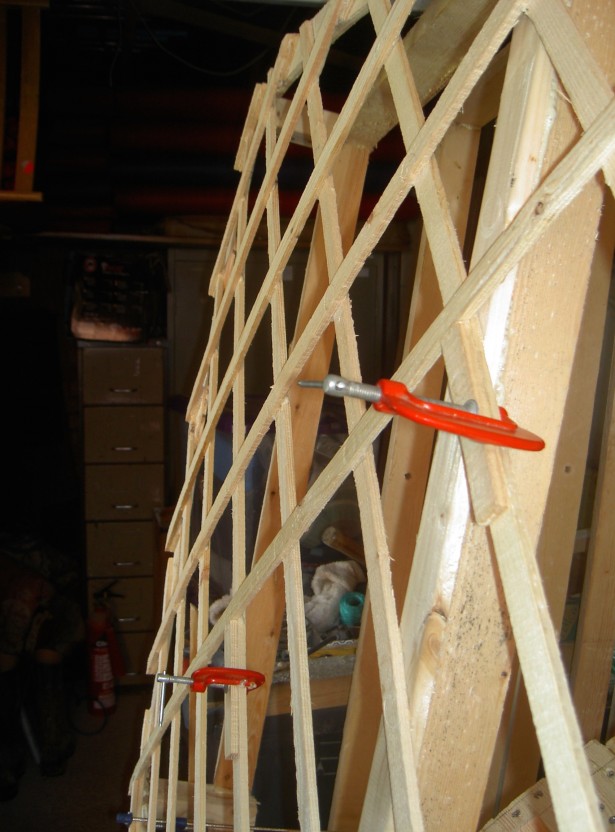
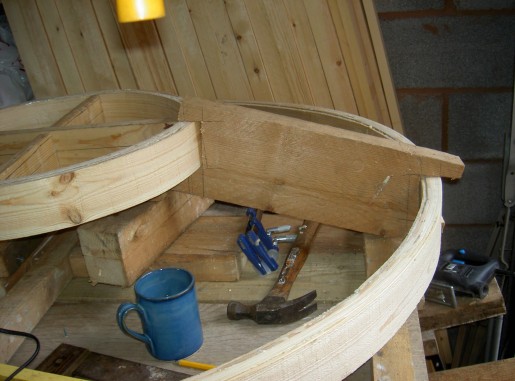
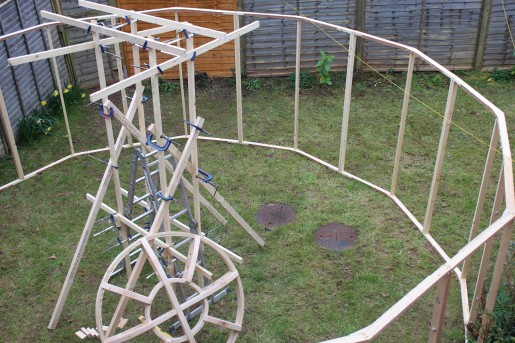
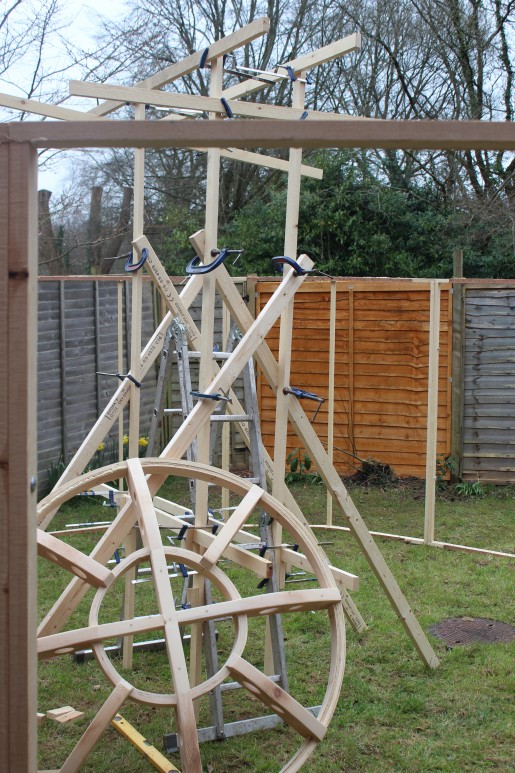
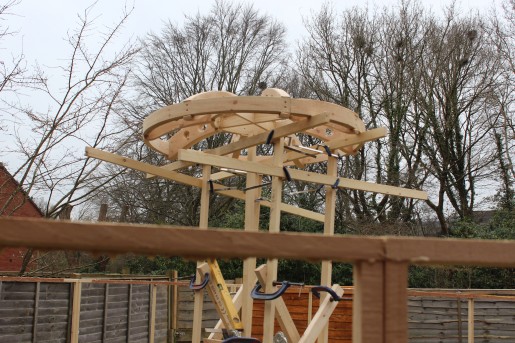
As I need the angle of the roof poles where it meets the above roof wheel, I have assembled the sides and found the centre point and created a makeshift scaffold and put the roof wheel in position as you can see by the photos below.

Below is one of the side being trellised.